Earlier this year, I was moving to a new house and ran into a problem – how did I want to organize my closet? I love fashion, and love to have many options to wear each day, so it was important for me to be able to classify and categorize my items. I also wanted to be able to see all the items in a particular category quickly and easily, so that I could efficiently style my outfits every morning.
In this four-part series, I’ll show you how I built a closet organization app that uses Artificial Intelligence to classify my clothing into the correct category, and display all of the items in one place. If you don’t have any experience with coding or AI, don’t worry – we’ll be working with Power Apps and AI Builder, our low-code/no-code solutions for building apps and infusing them with AI. Let’s get started!
Part 1: Introduction to Power Apps
What is Power Apps?
Power Apps is a low-code/no-code app development platform that allows you to use data in fun and exciting ways. You can build apps on the web, then share them to other PCs, laptops, tablets, and mobile phones. If you’ve used Microsoft Excel, or another data organizing tool that lets you calculate formulas like SUM, you’ll be right at home in Power Apps.
There are three different types of Power Apps: canvas, model-driven, and portals. Canvas apps are great for when you want to build an app from a clean slate. You can customize the screen size and all the functionality for the components you drag and drop into to your app. Model-driven apps are a little more sophisticated, and they build from data stored in Microsoft Dataverse. Portals are for building externally facing websites. In this series, we’ll be working with canvas apps!
How do we add AI to Power Apps?
Power Apps gives you a wizard-based interface for building and training AI models, called AI Builder. In the background, Azure Machine Learning and Cognitive Services provide the tools, but all you have to do is take advantage of the ready to use AI components in Power Apps. You don’t need any code or prior knowledge to create your own Machine Learning models. In the next blog post in the series, we’ll train, test, and publish an object detector model that identifies objects from an uploaded image or taken photo, and then provides a count of the number of objects present.
How do we get started?
The first thing you’ll need to do to get started making Power Apps is to create a Power Apps Developer account. You can make a free account to create and test your Power Apps with a work or student email.
- Join the Microsoft 365 Developer Program with your student or work email address. Once you’ve entered your password and signed in, you’ll be prompted to enter your Country/Region, Company, and Language preference. If you’re a student, you can make up your own company, or just put student. You’ll be asked what your primary focus is as a developer, and choose which areas of Microsoft 365 development you’re interested in learning about.
- After you’ve joined the Microsoft 365 Developer Program, you’ll need to Set up your E5 subscription. Select Set up E5 subscription on the Microsoft 365 Developer Program home screen, and create a username, domain, and password.

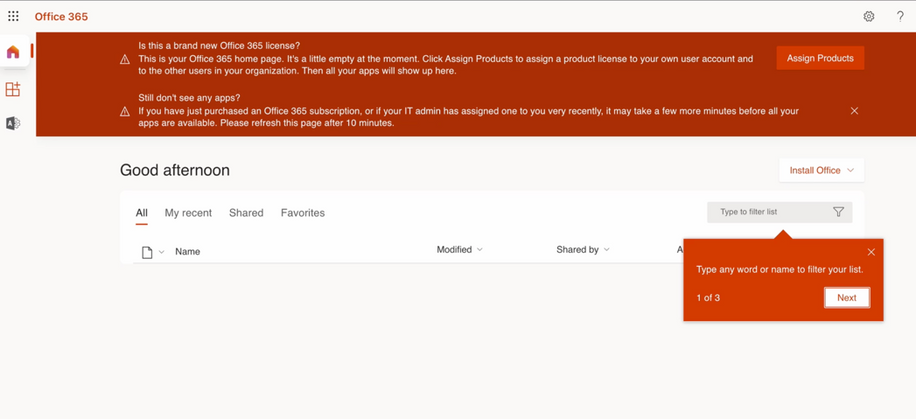
- Next, you’ll need to add a Power Apps dev environment to your account. We’ll set up a Power Apps Developer Plan environment by selecting Existing user? Add a dev environment. Your account should be logged in automatically, and you will have to Choose your country to begin. After you select Accept, you will be taken to your Power Apps environment in the new Microsoft 365 account you’ve created.
Now that you’ve gotten your Power Apps account up and running, take some time to explore and get comfortable with the interface. Before we start working on our AI model in the next part of the series, it’s important for you to be able to understand the ins and outs of Power Apps. Get started by completing the Introduction to Power Apps Learn module, as well as the Create a canvas app in Power Apps Learning Path. This bit of homework will help you excel as you follow along with this project.
In part 2, we’ll train, test, and publish an AI model that will be able to categorize whether an article of clothing is a top, pants, or a dress. Looking forward to seeing you here next week!
Posted at https://sl.advdat.com/3bzlHlV
